Knowing how obsessed I am with nail art, my ever supportive boyfriend recently gave me a bunch of striper tape rolls from Amazon. I thought it would be so insensitive of me not to use them, so after some browsing for nail designs that call for stripes, I finally came up with my own version of nautical nails.
 |
| My own version of nautical nails |
I actually got the idea from one of my favorite nail artists, Cutepolish. I made the design my own by changing up the colors and adding hearts to the striped nails for a more girly flair! This was her design:
 |
| Nautical nails by Cutepolish |
As mentioned in the title, this design is EASY to make! You can even make it easier by dropping the anchor and just making all the nails striped with hearts. The colors themselves are still nautical enough to stand alone!
And for those without nail striper tape, I have a suggestion on how to make your own, in any color you want! So keep reading :)
So let us begin with the tutorial!
Materials:
- Nail Prep (I use this because I am using the Dazzle Dry system)
- Base Coat (Dazzle Dry)
- Top Coat (also from DD!)
- Red polish (DD High Velocity Red)
- White Polish (DD White Lightning)
- Blue striper tape
- Dotting tools (big and small)
- Toothpick
- White Striper polish or white polish and thin paint brush
Procedure:
 |
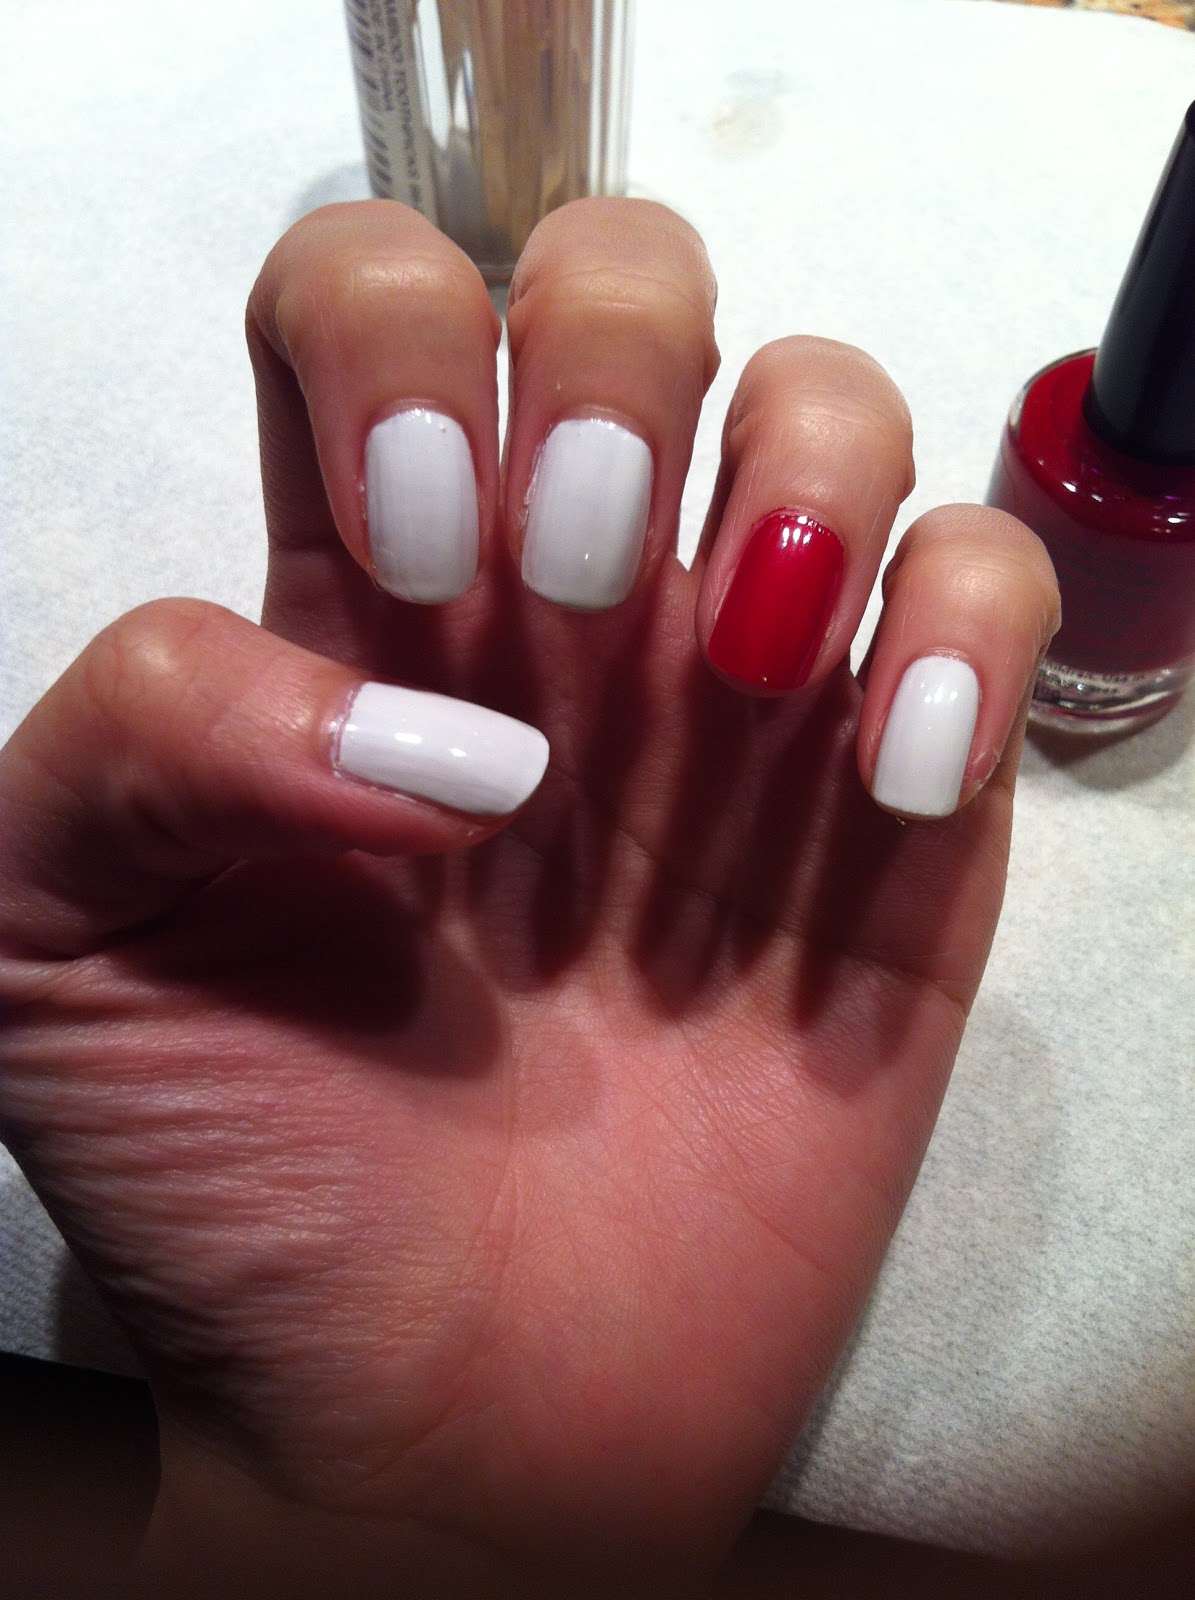
| After prepping nails and applying base coat, paint all nails white, except for the ring finger which will be red. |
 |
| Once nails are dry, carefully place strips of blue tape on your nails. Keep them long initially, and trim them when you get the position you want. |
 |
| Begin making the anchor by putting a big white dot on your nail. |
 |
| Now use a striper or a thin brush to paint the body of the anchor. |
 |
| Finish off the anchor by using a toothpick to make triangles on the ends on the bend. Add a smaller red dot in the center of the white dot. |
 |
| To make the hearts, place two small red dots beside each other. Connect them by spreading the polish with a toothpick, forming the pointed bottom of the hearts :) |
Finish with top coat, and your done!
For those without striper tape, here is what you can do:
- Get clear sticky tape (regular plastic glossy type) in a tape dispenser and nail polish of your choice.
- Paint the straightened portion of the tape (the part between the roll itself and the cutter at the end)
- Once this is dry, pull the painted part past the cutter. Hold the end of the tape with tweezers and carefully cut the tape into strips. You can make them as thin or thick as you want.
- Use them like regular nail striper tape!!
- You can even use craft scissors to make different patterns :)
Thank you so much for reading!!


No comments:
Post a Comment